Philips DC146 User Manual
Browse online or download User Manual for Home audio sets Philips DC146. Philips DC146/12 User manual
- Page / 22
- Table of contents
- TROUBLESHOOTING
- BOOKMARKS
- Micro Hi-Fi System 1
- Italia 2
- Français 5
- Contents 6
- General Information 7
- Preparations 10
- Basic Functions 12
- CD Operation 13
- Radio Reception 15
- DOCK FOR iPOD 16
- Maintenance 17
- Clock/Timer 18
- Specifications 19
- Troubleshooting 20
- Tr oubleshooting 21
- LASER PRODUCT 22
Summary of Contents
DC146Micro Hi-Fi SystemUser manual Mode d’emploiManual del usuarioBenutzerhandbuchGebruiksaanwijzing Manuale utente AnvändarhandbokBrugervejledningKäy
10EnglishPreparationsInserting batteries into theRemote Control1 Open the battery compartment.2 Insert two R03 or AAA batteries following theindicatio
English11Controls (illustrations on page 3)Controls on the system andremote control1 STANDBY-ON2 (POWER)– switches the system to standby or on.2 iR SE
12EnglishBasic FunctionsIMPORTANT:Before you operate the system, completethe preparation procedures.Switching the system on● Press STANDBY-ON 2 or SOU
English13CD OperationBasic playback controlsTo play a disc● Press 2; to start playback.➜ The current track number and the PLAY iconare displayed duri
14EnglishCD OperationDifferent play modes: SHUFFLEand REPEATYou can select and change the various playmodes before or during playback. The playmodes c
English15Radio ReceptionTuning to radio stations1 Press SOURCE on the set repeatedly or pressTUN on the remote control repeatedly untilthe desired wav
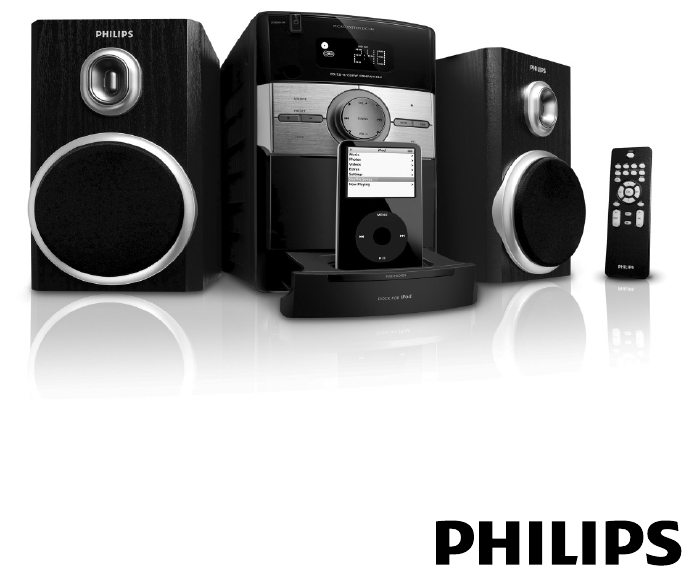
16EnglishiPodPlaying iPod using the dockThis system comes with a dock used for iPod.You can listen to the sound of the docked playerthrough the powerf
English17Cleaning the Cabinet● Use a soft cloth slightly moistened with a milddetergent solution. Do not use a solutioncontaining alcohol, spirits, am
18EnglishClock/Timer5 Press TIMER/SLEEP again.➜ The clock digits for the minutes flash.6 Press TUNING 4 ¢ (4 ¢ on theremote control) to set the minute
English19SpecificationsAMPLIFIEROutput power ... 2 x 1.5W RMSSignal-to-noise ratio ... ≥ 60
2Important notes for users in theU.K.Mains plugThis apparatus is fitted with an approved 13Amp plug. To change a fuse in this type of plugproceed as
20English“NO CD” is displayed.Radio reception is poor.The system does not react when buttonsare pressed.Sound cannot be heard or is of poorquality.The
English21The time is not working.The Clock/Timer setting is erased.✔ Set the clock correctly.✔ Press TIMER/SLEEP to switch on the timer.✔ Power has be
EnglishFrançaisPor tuguêsEspañolDeutschNederlandsItalianoSvenskaDanskSuomi PolskiPrinted in ChinaMeet Philips at the Internethttp://www.philip
3pg001-pg021_DC146_12_Eng 4/7/10, 11:173
4DKAdvarsel: Usynlig laserstråling ved åbningnår sikkerhedsafbrydere er ude af funktion.Undgå utsættelse for stråling.Bemærk: Netafbryderen er sekundæ
5NederlandsItalianoDanskSuomiEnglishFrançaisPor tuguêsEspañolDeutschNederlandsItalianoSvenskaDanskSuomiIndexEnglish --------------------------
6EnglishContentsGeneral InformationSupplied accessories ... 7Environmental Information ...
English7General InformationCongratulations on your purchase and welcometo Philips!To fully benefit from the support that Philipsoffers, register your
8EnglishGeneral InformationHearing SafetyListen at a moderate volume.● Using headphones at a high volume can impairyour hearing. This product can pro
English9PreparationsRear connectionsThe type plate is located at the rear of thesystem.For users in the U.K.: please follow theinstructions on page 2.
Related products and manuals for Home audio sets Philips DC146
 (21 pages)
(23 pages)
(21 pages)
(23 pages)
 (39 pages) (12 pages)
(22 pages)
(20 pages)
(44 pages)
(21 pages)
(39 pages) (12 pages)
(22 pages)
(20 pages)
(44 pages)
(21 pages)
© 2020, manymanuals.com. All rights reserved. | 0.742 s |
 Manymanuals.com
 Manymanuals.de
 Manymanuals.fr
 Manymanuals.it
 Manymanuals.pl
 Manymanuals.cz
 Manymanuals.es
 Manymanuals-pt.com
Comments to this Manuals