Philips Hopper LC4043 User Manual
Browse online or download User Manual for Data projectors Philips Hopper LC4043. Philips Hopper LC4043 User's Manual
- Page / 22
- Table of contents
- TROUBLESHOOTING
- BOOKMARKS
- Philips Multimedia projector 1
- Hopper 20 series 1
- AudioVideo 3
- 3. IMPORTANT SAFEGUARDS 5
- 4. PROJECTOR FEATURES 6
- See illustrations on page 3 7
- 6. SET UP 8
- Optional cables and adaptor: 10
- Connecting to a computer 11
- Connecting to video equipment 12
- 7. INSTALLATION 13
- Preparation/Picture control 14
- 8. OPERATION Picture control 15
- 8. OPERATION Other settings 18
- 9. ADDITIONAL INFORMATION 19
- 10. TROUBLESHOOTING 22
Summary of Contents
Philips Multimedia projector Hopper 20 seriesEnglishMouseData inS-Video inVideo inAudiooutAudioinLRMouseData inS-Video inVideo inAudiooutAudioinLRPowe
VIDEO/COMPUTER CABLES AND ADAPTORThese accessories are supplied for connecting the projector to computer/AV equipment. The numbers in the left-hand co
7. INSTALLATION Connecting to a computerCONNECTING TO A COMPUTERGeneral–Caution: Always switch off the projector before making any connections!– The
PAL, NTSC, SECAM1.Connect the VIDEO OUT socket of a VCR, Laser Disc player,video camera or TV to the VIDEO IN socket (e)of theprojector.For this, use
7. INSTALLATIONConnecting to audio equipment/Connecting to an external monitor CONNECTING TO AUDIO EQUIPMENTGeneral– The figures in brackets (1)corre
PREPARATIONGeneral1.Press the STANDBY/ON/OFF button to switch on theprojector.– The lamp indicator flashesgreen and the start up screenappears for 5 s
8. OPERATION Picture controlData display adjustmentsFor data signal input, the following adjustments can be made:– shift - adjusts the computer image
6.Press OK (–/––)to confirm and store the adjustment.7.If required, select the next item to be adjusted or press MENUto exit.Notes:– When you have sel
8. OPERATION Personal Preferences/Other settings6.Press OK (–/––) to activate the STORE item.7.Use Cursor Controlto select P. PREF 1, 2 or 3 in the ac
Rear screen projectionThe image can be flipped to a horizontal mirror image of theinput signal for rear screen projection.Front projectionRear project
9. ADDITIONAL INFORMATIONRemote control & RS-232 PC software/MaintenanceINSTALLING THE REMOTE CONTROL SOFTWAREThis chapter describes how to instal
2IMPORTANT NOTE FOR USERS IN THE U.S.A.The responsible party of this multi media projector isthe following:Philips Consumer Electronics CompanyOne Phi
8.Replace the filter:•Press both sides of the filter (a) and place it back into itscompartment.• Loosen the sides of the filter so it will fall back i
9. ADDITIONAL INFORMATIONMaintenance21EnglishLAMP REPLACEMENT1.Press the STANDBY/ON/OFF button to switch off theprojector.– The standby indicator ligh
PROBLEM– POSSIBLE CAUSE• SOLUTIONImage is not displayed– Mains lead is not correctly connected.• Correctly connect mains lead.– The filter holder is n
3MouseData inS-Video inVideo inAudiooutAudioinLRMouseData inS-Video inVideo inAudiooutAudioinLRPowerDataAudioVideoOKMenuDataLampMuteAVMuteRCVolumeStan
TABLE OF CONTENTS1. INTRODUCTION ...42. THINGS YOU SHOULD KNOW ...
3. IMPORTANT SAFEGUARDS1.Unplug the projector from the wall outlet before cleaning orlamp replacement.2.Do not use liquid cleaners or aerosol cleaners
1. Fully compatible with PC and MACThe Philips Limesco solution enables perfect interfacingwith all sorts of PC and MAC standards.Optimum picture qual
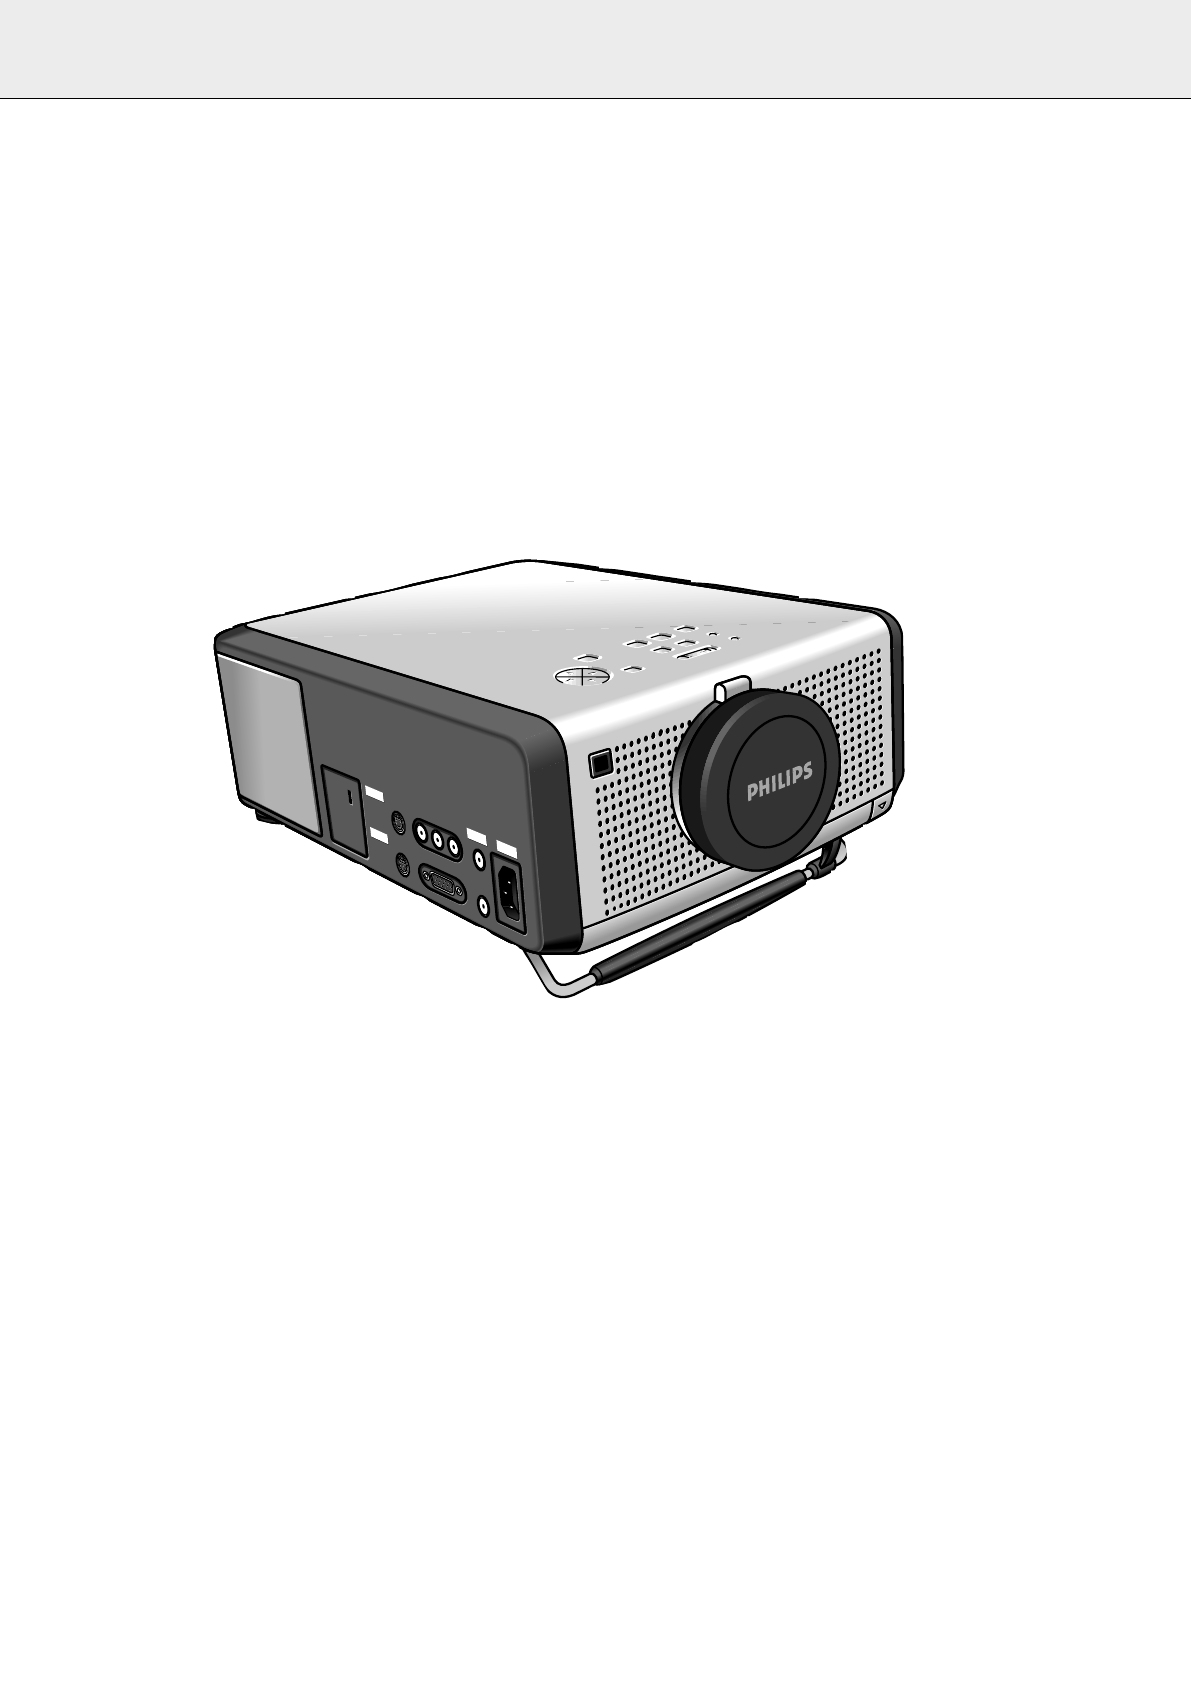
5. FUNCTIONAL OVERVIEW See illustrations on page 3CONTROLS (fig. 1 and 2)On projector and remote control1 Cursor ControlFor manipulating the mouse cur
POSITIONING THE PROJECTOR AND SCREEN• Place the projector on a stable, level surface, out of directsunlight and away from sources of excessive dust,
6. SET UPHorizontal angle (horizon)• Adjust or correct a possible oblique displayed picture by turningthe horizontal adjusters to the desired position
Related products and manuals for Data projectors Philips Hopper LC4043

 (28 pages)
 (24 pages)
(2 pages)
(47 pages)
(24 pages)
(2 pages)
(47 pages)
© 2020, manymanuals.com. All rights reserved. | 0.992 s |
 Manymanuals.com
 Manymanuals.de
 Manymanuals.fr
 Manymanuals.it
 Manymanuals.pl
 Manymanuals.cz
 Manymanuals.es
 Manymanuals-pt.com
Comments to this Manuals