Philips DVDR80 User Manual
Browse online or download User Manual for DVD players Philips DVDR80. Philips DVDR80 User's Manual
- Page / 120
- Table of contents
- BOOKMARKS
- The remote control 3
- Additional TV functions 4
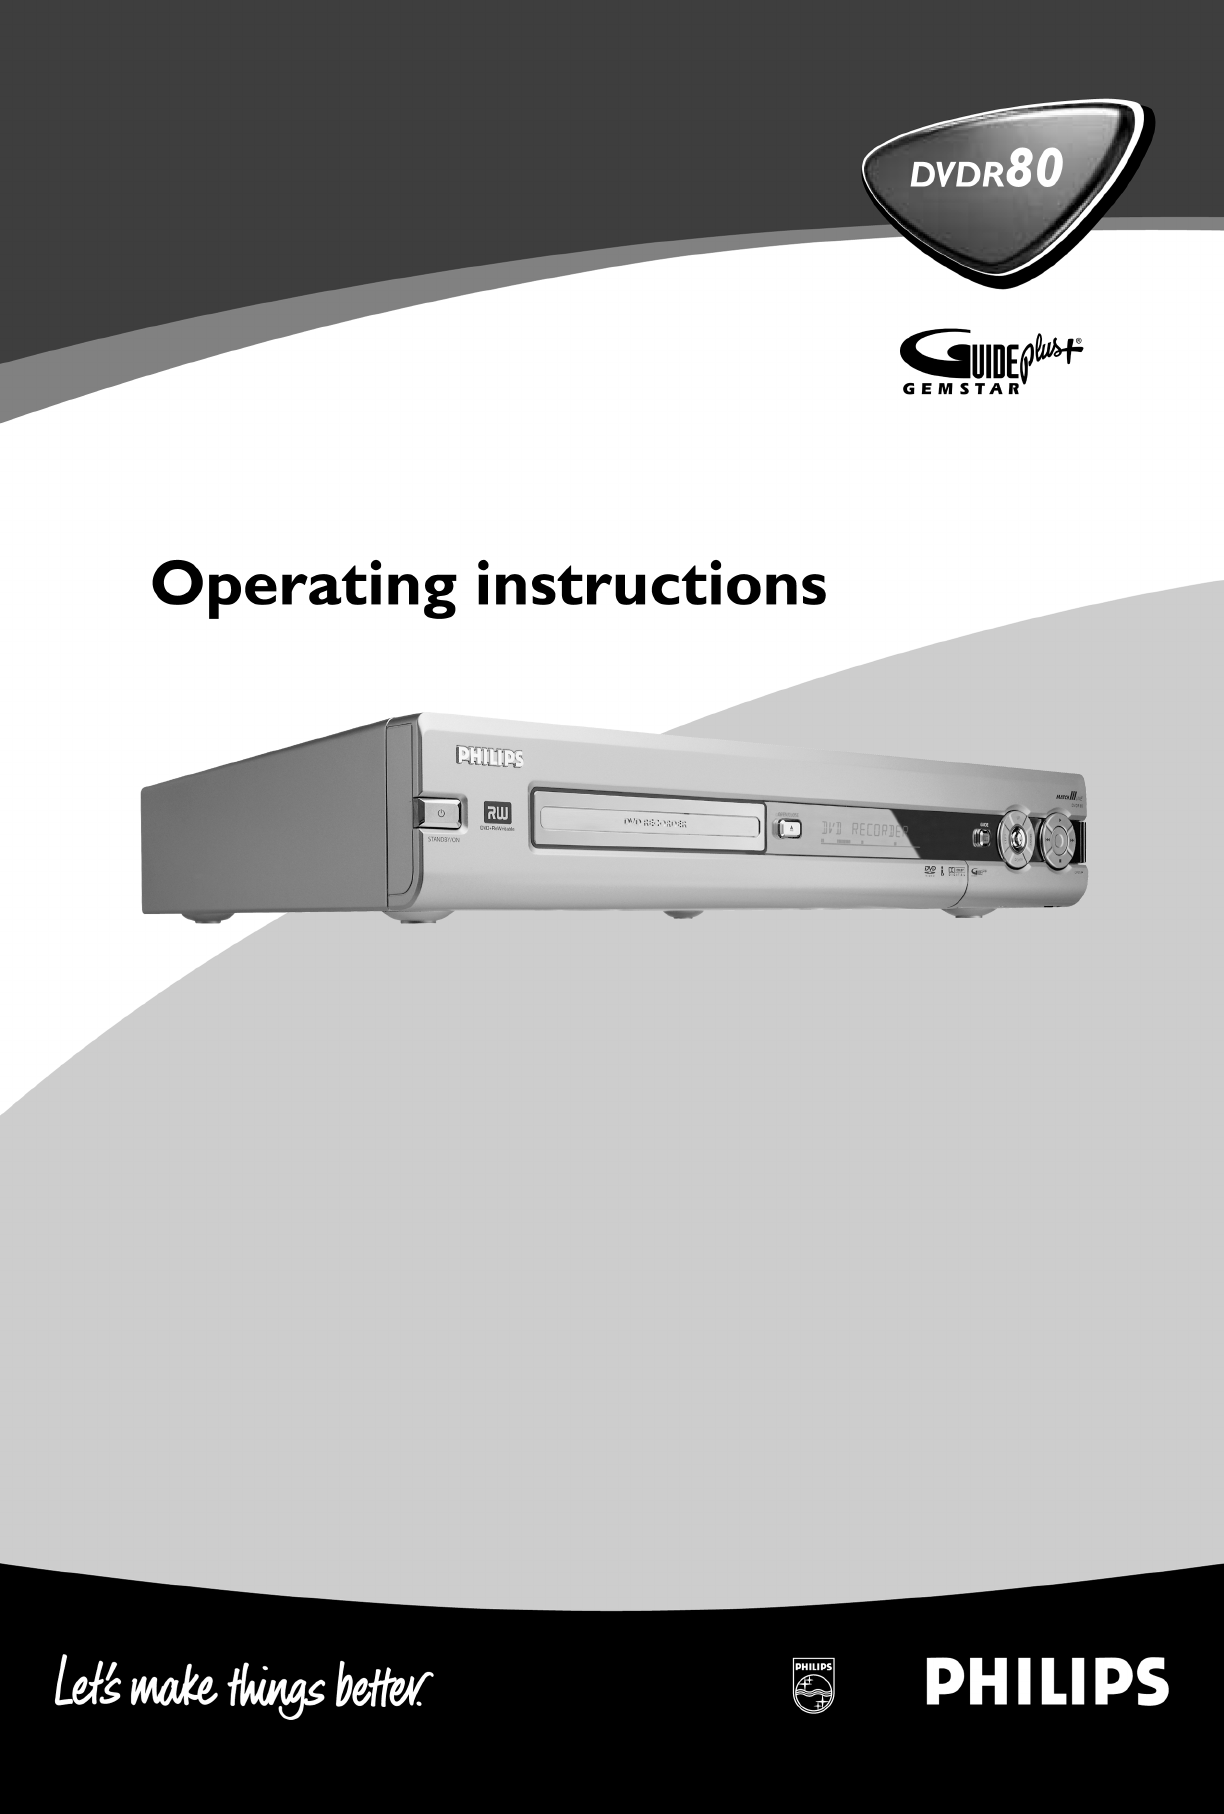
- Front of the device 5
- Back of the unit 6
- Output socket (G;LINK) 7
- AIntroduction 13
- Introduction 14
- Discs you can use 15
- Regional code 16
- Technical data 16
- Accessories 16
- Important 17
- Cleaning the discs 18
- BConnecting the DVD recorder 21
- Connecting the DVD recorder 22
- Link' 23
- 'Easy Link' 25
- Connecting additional devices 29
- DInstalling your DVD recorder 33
- Installing your DVD recorder 34
- Using a satellite receiver 35
- Allocating a decoder 36
- (Y Pb Pr/YUV) cable 37
- Manual TV channel search 38
- (Follow TV) 40
- Automatic TV channel search 42
- (Autoinstall) 42
- Setting the language 44
- (2;channel sound) 45
- Setting the time and date 46
- EThe GUIDE Plus+® System 47
- Setting up the GUIDE Plus+ 48
- 'Setup' 48
- The GUIDE Plus+® System 49
- Continue set;up 53
- Using the GUIDE Plus+ 54
- The 'Grid' screen 55
- The 'Search' screen 57
- The 'Info' screen 59
- The 'Editor' screen 59
- The 'Setup' screen 60
- On;screen information 61
- Field for temporary messages 62
- Status field 62
- Disc type symbols 62
- Operating mode symbols 63
- Tuner information box 63
- Timer information box 63
- GPlayback 64
- Playing a DVD video disc 65
- Playing a DVD+RW/ +R disc 66
- Playing an audio CD 66
- Playing an MP3 CD 67
- Playing a (Super) Video CD 68
- HAdditonal playback features 69
- Still picture 70
- Slow motion 70
- Search by time 70
- Repeat/Shuffle play 71
- Repeating a passage (A;B) 71
- Scan feature 72
- Camera angle 72
- Zoom feature 72
- Select the audio language 73
- Subtitles 73
- IDisc Manager (DM) 74
- Disc Manager (DM) 75
- Searching discs 77
- Searching for a blank section 78
- JManual recording 79
- 1 FREETITLE P01 80
- Interrupt recording (Pause) 81
- Manual recording 82
- (assemble cut) 83
- Direct Record 86
- KManaging the disc contents 88
- Favorite Scene Selection 89
- Insert chapter markers 89
- Hiding chapters 89
- Managing the disc contents 90
- Deleting chapter markers 91
- Changing the index picture 91
- Dividing titles 92
- Playing the entire title 93
- Erasing recordings/titles 93
- Disc settings 94
- Changing the disc name 94
- Finishing editing 95
- Finalising DVD+R discs 95
- Erase DVD+RW disks 96
- VIDEO Plus+ Manual Home 100
- 3 Confirm with OK 102
- 2 Confirm with OK 102
- 'NexTView Link' 104
- MUser preferences 105
- Picture settings 106
- Sound settings 107
- Language settings 107
- Additional settings 108
- Remote Control settings 109
- Disk feature menu 109
- NAccess control (Child Lock) 110
- Authorising a disc 111
- Locking unlocked discs 111
- Changing the country 112
- Changing the PIN code 113
- OBefore you call an engineer 114
- PROBLEM SOLUTION 115
- Before you call an engineer 115
- DVDR 80/051 118
Summary of Contents
90VIDEO Plus+ Manual HomePlease enter the PlusCode programming number andpress OK to confirm.=========Grid Search Schedule InfoNo programmesM2 Once 04
917 If all information is correct, press the OK button. The data is stored.8 To end, press TIMER s .9 Insert a recordable disc (one without write prot
928 Check the data you entered.If necessary, go back a position to change entered data using the greenfunction button.9 Enter the programme number of
93How to change or delete a programmedrecording (TIMER)1 Switch on the TV set. If required, select the programme number forthe DVD recorder.2 Press TI
94'NexTView Link'This DVD recorder is equipped with the 'NexTView Link' feature. If your television is alsoequipped with 'Nex
95MUser preferencesIn this section you will learn how to set your user preferences on the DVD recorder. Thesymbols have the following meanings:Pictur
96Picture settingsYou can choose the following features in this menu:PictureTV shape 16:9Black level shift OffVideo shift ïVideo output RGB + CVBS&apo
97Sound settingsDepending on which audio outputs are used, you can select the settings in this menu.If you only use the analogue audio output ( OUT AU
98'Subtitle'Subtitle language'Menu'Screen menu languageAdditional settingsYou can select the following functions in this menu:Feat
99Remote Control settingsIn this menu you can set the remote control type to which your DVD recorder should respond.'DVD player': The DVD re
Table of contentsAIntroduction 3...Dear Philips customer, 3...
100NAccess control (Child Lock)Child lock (DVD and VCD)This feature enables discs to be locked for children.When Child Lock is on, a 4-digit code (PIN
101Authorising a disc1 Insert a disc. The access control box will appear after a short delay.2 Using P+ A or P- B select 'Play once'or'
102Disc featuresAccess control Enter code…Auto resume On6 Confirm 'Access control' using C .7 Enter a 4-digit code of your choice. If the co
103Changing the PIN code1 Switch on the TV set. If required, select the programme number forthe DVD recorder.2 Switch on the DVD recorder using STANDB
104OBefore you call an engineerIf you have any problems using this DVD recorder, the reason may be one of the following. Youcan also call the customer
105PROBLEM SOLUTIONData transfer from TVset via 'EASYLINK'does not work:bData transfer is controlled via pin nr. 10 of the scart cable. It i
106PROBLEM SOLUTIONThe wrong TV channelwas decoded (entered)after you programmeda recording usingVIDEO Plus+ System.bThe programme number of the TV ch
107PROBLEM SOLUTIONDistorted soundcoming from aconnected hi;fiamplifierbThe DVD recorder is connected to the 'Phono-input' of your amplifier
108PROBLEM SOLUTIONOther disc errors(DVD+R), 'Disccontains unknowndata'bThis message may appear if you instert a disc that was not finalised
JManual recording 69...General 69...
(WwnnNNNwwnnwWNnwNwnNNnWwnnWnwN)3103 605 205923373/000DVDR 80/051www.philips.comPHILIPS NORGE AS PHILIPS PHILIPS PORTUGUESA, S.A.Sandstuveien 70, Phil
3AIntroductionDear Philips customer,Instruction manuals are usually very dry since they are technically-oriented and often poorlytranslated. I have th
4Welcome to the growing family of owners of PHILIPS equipment.Thank you for buying a DVDR 80/051 .Please take the time to read this operating manual b
5Discs you can useThe following discs can be used in your DVD recorder for playback and recording:Playback and recordingDVD+RW (Digital Versatile Disc
6Regional codeSince DVD films are not normally released in all parts of the world at the same time, all DVDplayers have a specific regional code. Disc
7ImportantCaution:Visible and invisible laser radiation. If the cover is open, do not look at the beam.Because of the risk of eye injuries, only quali
8When installing the recorder in a cupboard ensure there is a gap of approximately 2.5 cm (1inch) around the recorder to enable air to circulate freel
9At the touch of a button your DVD recorder, even though it is switched off, will check whichchannel is currently playing on your television and recor
10The GUIDE Plus+®System gives you an on-screen listing of what's on TV. It also lets youprogram your DVD recorder by selecting the show you want
11BConnecting the DVD recorderImportant information for customers inGreat BritainThis set is fitted with an approved moulded 13 amp plug. To change th
122 Open the battery compartment, insert the batteries as shown andthen close the battery compartment.The remote control is now ready to use.Its range
13Connecting with a scart cable and 'EasyLink'Your DVD recorder can exchange information with your TV set using 'Easy Link'. Your
14EasyLinkloading data from TV;please wait8 Switch on the DVD recorder using STANDBY-ON m .A message appears on the screen announcing that the transfe
15Connecting with a scart cable without'Easy Link'Have the following cables ready:an aerial cable (1, supplied), a mains cable (2, supplied)
168 If the connection was properly made and your TV was automaticallyswitched to the programme number for the scart socket, e.g. 'EXT',&apos
174 Insert one end of the supplied audio (Cinch) cable into the red/whiteCinch socket OUT AUDIO L/R at the back of the DVD recorderand the other end i
183 Insert one end of the supplied video (CVBS) cable into the yellowCinch socket VIDEO (CVBS) OUT at the back of the DVDrecorder and the other end in
19CConnecting additional devicesConnecting additional devices to thesecond scart socketYou can connect additional devices such as decoders, satellite
The remote controlREC/OTR n Record: Record the current TV channelSTANDBY m Switch on or off: To switch set on or off, interrupt menu function,interrup
201 Connect the scart socket of the receiver (satellite receiver) providedfor the TV set (usually labelled 'TV', 'TO TV'), with th
21Connect camcorder to the front socketsTo copy camcorder recordings, you can use the front sockets. These sockets are located behindthe flap on the r
22Connecting audio devices to the digitalaudio socketsAt the back of the DVD recorder there are two digital audio output sockets OPTICALAUDIO OUT for
23DInstalling your DVD recorderInitial installationAfter successfully connecting your DVD recorder to the TV set and other additional devices asdescri
24Virgin modeTV Shape4:3 letterbox4:3 panscan16:9Press OK to continue7 Select the desired screen format position using P- B or P+ A .These settings wi
25Satellite receiverIf you are connecting a satellite receiver, please read the section on 'Using asatellite receiver'.DecoderIf you are con
26Allocating a decoderSome TV channels send coded TV signals that can only be viewed properly with a purchased orrented decoder. You can connect such
27Connection using a component video(Y Pb Pr/YUV) cableComponent video (Y Pb Pr) is the highest quality picture transmission option. This is achieved
289 Use a component video (Y Pb Pr) cable, connect the three cinchsockets (red, blue, green) COMPONENT VIDEO OUT at the backof the DVD recorder with t
293 Press SYSTEM-MENU on the remote control. The menu barappears.4 Select 'A' symbol with D or C .5 Select 'Installation' using P-
AUDIO Audio: Selecting the audio language. For recording or during playbackusing the internal tuner ( MONITOR key), select language 1 or 2.In the GUID
30Sorting TV channels automatically(Follow TV)When the automatic channel search function is activated, the TV channels are stored in a specificorder.
31a 'NOTV' will appear in the display. The DVD recorder is notreceiving a video signal from the TV set.b Chech the connectors at both ends o
32Automatic TV channel search(Autoinstall)During installation, all available TV channels are searched for and stored. If the channelassignments of you
33Sorting and deleting TV channels manuallyAfter you have performed the automatic channel search you may not agree with the sequence inwhich the indiv
34a 'New preset, please switch to standby' appears on the screenb In order to transfer the new TV channel order to the GUIDE Plus+®system, i
35'Recording audio' switching over(2;channel sound)Some TV programmes transmit an extra audio signal in stereo in addition to the normal aud
36Setting the time and dateIf the display shows an incorrect time or '--:--', the time and date must be reset manually.If a TV channel which
37EThe GUIDE Plus+® SystemGeneral informationYour DVD Recorder is equipped with the GUIDE Plus+®System. The GUIDE Plus+®Systemoffers a free interactiv
38Setting up the GUIDE Plus+®SystemBelow we'll tell you how to set up the GUIDE Plus+®System to suit your own particular needsand how to install
39'Country'Select the country you currently live from the list. The DVD recorder needs this information toload the right channel list.1 Pres
STANDBY m Switching the TV off0..9 Number buttons:0-9P+ A TV programme number: To select a higher programme numberP- B TV programme number: To select
40Setup HomePress Aor Bto select. Then press OK to confirm.SetupChoose item to set up :Language EnglishCountry United KingdomPostal code XXXXXExternal
419 Select the input socket of the DVD recorder to which the receiver isconnected.a My external receiver is connected only via aerial cable1 Press O t
42a My external receiver does not display the programme numberDuring installation, the external receiver will be switched to a differentprogramme numb
43Continue set;upSetup HomePress Aor Bto select. Then press OK to confirm.SetupChoose item to set up :Language EnglishCountry United KingdomPostal cod
44Using the GUIDE Plus+®SystemGeneralThe GUIDE Plus+®System provides you with a free on-screen listing for all the TV channels inyour location. You ca
45Function buttons (colour buttons)If GUIDE Plus+®information has been loaded, function buttons (colour fields) at the top of thescreen indicate that
464 In the top left of the screen you will see a video picture of thecurrent show of the selected TV channel.Unlocking / Locking the picture of the TV
47HomeSearch displays programme listings by categories ofinterest. Press Bto use. Press Dfor Grid. Press CforScheduleSearch Schedule Info EditorMovies
48Quality Frequency VPS/PDC HomeRecording quality M2, Single recordingGrid Search Schedule InfoWatch/Record Qual. Freq. Timing21-Oct 20:00 21:30 BBC1
49The 'Info' screenThis screen can be divided in subcategories. These depend on the information provided by theGUIDE Plus+®system. If there
Behind the flap at the right;hand corner onthe frontSwitching between the S-VIDEO and VIDEO sockets takes place automatically. If a signal isavailable
50Entering the TV;channel of an external receiver1 Select the TV channel you want to watch only through the externalreceiver using P- B , P+ A .2 Choo
51FOn;screen informationYou can check or change many of the functions and settings of your DVD recorder via thesystem menu bar. The menu bar cannot be
52Field for temporary messagesThe top left corner of the menu line contains a field for temporary messages relating to thevarious operating modes. Thi
53Operating mode symbolsRRecordingSStopTPlaybackUPlayback;PauseVRecord;PauseXSearch forwards (8x speed)YSearch backwards (8x speed)ZSlow motionTuner i
54GPlaybackGeneral notes on playbackWith this DVD recorder you can play back the following systems:•) DVD Video•) (Super)Video CD Disc•) DVD+RW Disc•)
55Opening/closing the tray using the remote controlYou can open and close the disc tray using the remote control.Press and hold the STOP h button on t
56Playing a DVD+RW/ +R disc1 If the disc is write-protected or a finalised DVD+R disc, playbackstarts automatically.C01 ANNA P012 If playback does not
57Playing an MP3 CDMP3 (MPEG1 Audio Layer-3) files are highly compressed music files. Using this technology thedata volume can be compressed by a fact
58Playing a (Super) Video CD(Super) Video CDs may be equipped with PBC (Play Back Control). This means that specialplayback functions (menus) can be d
59HAdditonal playback featuresChanging to another title/chapterIf there is more than one title or chapter on a disc you can change to another title or
Output sockets (DIGITAL AUDIO OUT)COAX OUT Coaxial digital audio outputOPTICAL AUDIOOUTOptical digital audio outputOutput socket (G;LINK)G-LINK Connec
60Still pictureC01 2:041 During playback, press PAUSE 9 to stop playback and display a stillpicture.Frame advance via menu bar1 During a still picture
613 Enter the start time with the digit keys 0..9 from where playbackshould start.4 Confirm with OK .a The time entered will flash on the screenb The
62Scan featureThis feature plays back the first 10 seconds of each chapter (DVD) or track (CD).1 During playback, press PLAY MODE . Select '&apo
63Select the audio languageMany pre-recorded DVD discs have more than one audio language. The language initially selectedfor playback will be the one
64IDisc Manager (DM)General informationThe 'Disc Manager' is an integrated database in the DVD recorder that remembers all recordingsmade by
65Disc ManagerFind title C04Browse discs Disc number001Remove a disc Disc number001Add current disc Next free disc number= 001To exit press DMa When I
66Searching for a title in the Disc ManagerThis function can be used to quickly and easily find and play back a recording saved in the DiscManager.1 P
67Searching discsYou can easily search for the title of a recording stored in the Disc Manager. To do this, theappropriate disc does not have to be in
68Searching for a blank sectionYou can search for space for a new recording on the disc (at least 1 minute of blank space), forexample at the end of e
69JManual recordingGeneralWhich discs can I use for recording?With this DVD recorder, you can record on two types of DVD:DVD+RWThis disc can be writte
Messages in the DVD recorder displayREADINGThe following messages may appear in your DVD recorder displayIS TV ON? The DVD recorder is in initial inst
70Recording without automatic switch;off1 Switch on the TV set and select the programme number for the DVDrecorder.2 Insert a disc on which the record
71C01 1:16:51 P01Insert chapter markersDuring recording you can mark scenes so you can find them or hide themlater.During recording, press FSS & a
72Recording with automatic switch;off (OTRone;touch;recording)1 Insert a disc.2 If necessary, use the MONITOR button on the remote control toswitch to
735 Select 'Protected' with the P- B button and confirm with OK .6 Press D and then DISC-MENU to terminate.The entire disc is now protected.
74Selecting the recording type (Quality)You can select the picture quality of the recording using the recording quality feature and hencethe maximum r
75Automatic recording from a satellitereceiver (Sat recording)You can use this function if your own a satellite receiver that can control other device
76Direct RecordCan you record the right TV channel in seconds when the DVD recorder is switched off? Noproblem. If recording is started manually, the
77Switching 'Direct Record' on or off1 Switch on the TV set. If required, select the programme number forthe DVD recorder.2 Press SYSTEM-MEN
78KManaging the disc contentsCharly 100:29:59 • M1Fri15/02/2003Empty title01:30:01GeneralWhen a recording is made to disc, the following additional in
79Favorite Scene SelectionIn this menu you can adapt a title to suit your particular needs.You can insert/delete chapter markers, hide chapters, selec
PAL DISC A disc with PAL recordings has been inserted. The machine is trying torecord an NTSC signal. Insert a new disc or one that contains NTSCrecor
806 Set the end marker with OK . This will also be the start marker ofthe next chapter.The number of chapters ('C') in the menu line increas
81Deleting chapter markersWithin a title you can delete either all markers or individual markers.Favorite Scene SelectionInsert marker Press OKCurrent
82Dividing titlesYou can divide a title into several sections (titles) of any size. Each of these sections (titles) isidentified by its own index.Note
837 Save the new name with OK .'Storing name' appears on the TVscreen for confirmation.8 To end, press D .Playing the entire titleIf you hav
84Disc settingsPhilips100:35:59 usedFri15/02/2003PALDVD playbackThis screen appears beforethe first title and contains general information about the c
85Finishing editingIf one or more titles have been edited a DVD player may still display the original titles. You canprepare your DVD+RW disc in such
864 To confirm press OK .'Working' appears on the TV screen. A barwill move from left to right indicating progress.Erase DVD+RW disks1 In th
87LProgramming a recording (TIMER)GeneralUse 'Programming a recording (TIMER)', to automatically start and stop a recording at a laterdate.T
88Programming recordings with the GUIDEPlus+®SystemThe GUIDE Plus+®System has made it even easier to programme recordings. All you have to dois select
89You can also program TV shows that you just want to watchPress the green function button ('Watch' on the screen) instead of the red.The TV
Related products and manuals for DVD players Philips DVDR80
 (22 pages)
(62 pages)
(24 pages)
(26 pages)
(2 pages)
(34 pages)
(43 pages)
(49 pages)
(39 pages)
(37 pages)
(19 pages)
(22 pages)
(62 pages)
(24 pages)
(26 pages)
(2 pages)
(34 pages)
(43 pages)
(49 pages)
(39 pages)
(37 pages)
(19 pages)
 (38 pages)
 (22 pages)
(29 pages)
(49 pages)
(22 pages)
(29 pages)
(49 pages)
© 2020, manymanuals.com. All rights reserved. | 2.018 s |
 Manymanuals.com
 Manymanuals.de
 Manymanuals.fr
 Manymanuals.it
 Manymanuals.pl
 Manymanuals.cz
 Manymanuals.es
 Manymanuals-pt.com
Comments to this Manuals