Philips LTC 9405 User Manual
Browse online or download User Manual for Camera accessories Philips LTC 9405. Philips LTC 9405 User's Manual
- Page / 40
- Table of contents
- BOOKMARKS
- LTC 9405 Series 1
- IMPORTANT SAFEGUARDS 2
- SAFETY PRECAUTIONS 3
- ■ Model number of unit 5
- ■ Hardware Kit 5
- SECURITE 9
- ■ Un kit matériel 11
- W9404408AE 13
- W9404411AE 13
- SICHERHEITSVORKEHRUNGEN 15
- ■ Modellnummer des Geräts 17
- ■ Zubehörsatz 17
- 1 - 3/8 mindestens 18
- (2 in. MIN 18
- Wechsel-Kameraschiene 20
- Befestigungsplatte 20
- PRECAUCIONES DE SEGURIDAD 21
- ■ Juego de hardware 23
- 1-3/8 (2 pulg. mín. si 24
- Soporte de cámara alternativo 26
- Panel superior 26
- VEILIGHEIDSVOORZORGEN 27
- ■ Modelnummer van eenheid 29
- ■ Hardwarekit 29
- 1-3/8 minimum 30
- (2 in min 30
- Gebruik de 30
- Alternatieve camerabeugel 32
- Opengeklapte behuizing 32
- Bovenpaneel 32
- AVVERTENZA 33
- RISCHIO DI FOLGORAZIONE 33
- NON APRIRE! 33
- ■ Kit ferramenta 35
Summary of Contents
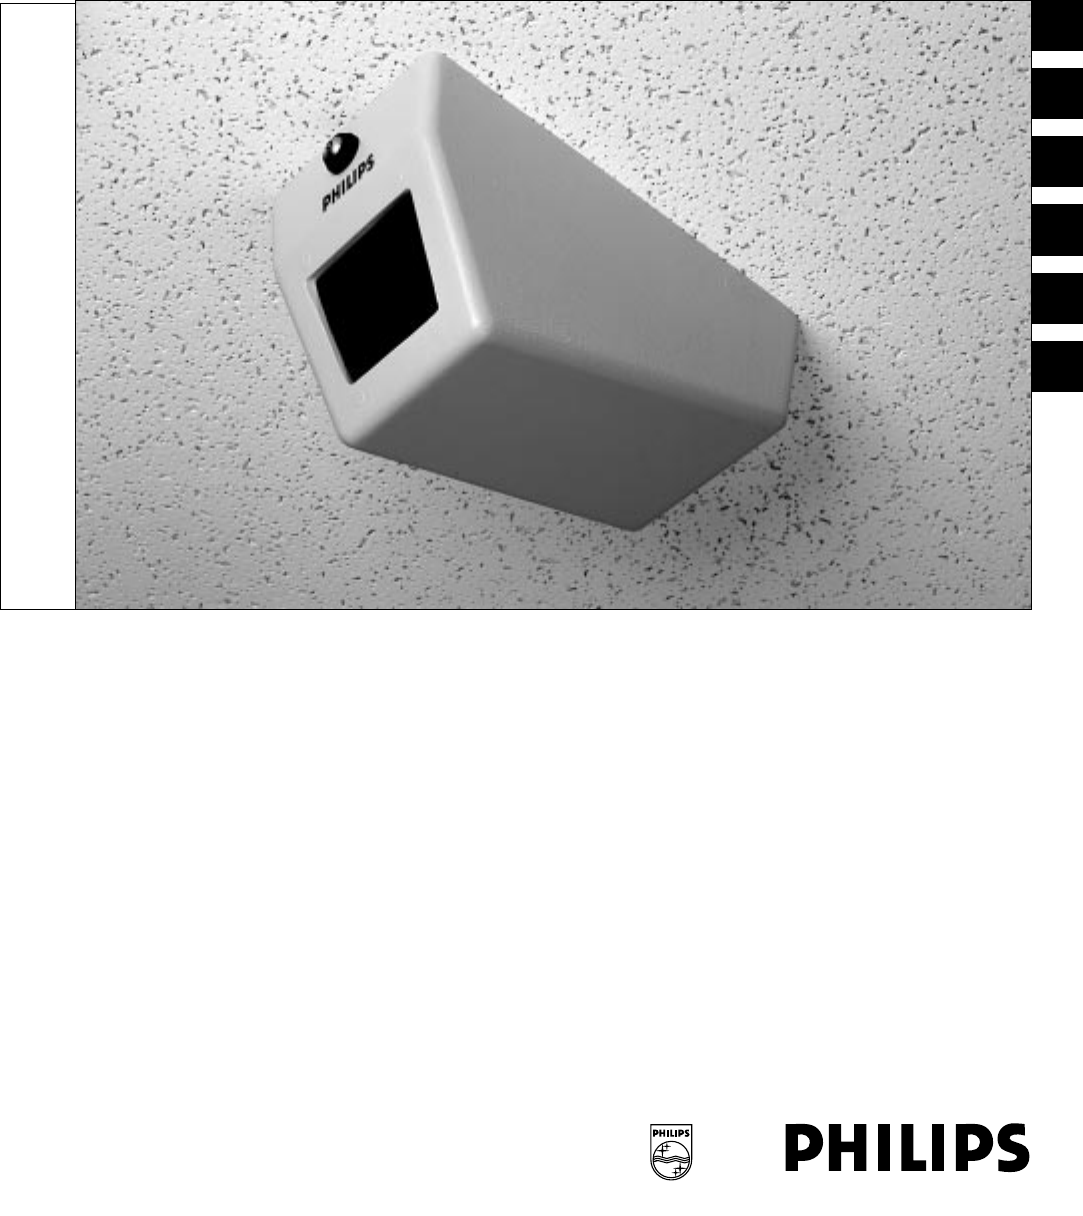
LTC 9405 Series Wall/Ceiling Security HousingsPhilipsCommunication &Security SystemsInstallation InstructionsEngFDENLI
2.3TABLE DES MATIERES1 DEBALLAGE . . . . . . . . . . . . . . . . . . . . . . . . . . .2.32 MAINTENANCE . . . . . . . . . . . . . . . . . . . . . . .2
2.4Figure 1 : Retrait du capot3. Quel que soit le modèle, retirez la vis ou ouvrez le verrouafin de dégager le panneau avant du capot du panneausupéri
5.3 Installation du bloc caméra/objectif1. Si dans le cadre d'une installation murale la caméra doit êtremontée horizontalement, retirez le suppo
2.6Figure 10 : Montage mural d'une caméra fixée sur un supportamovible5.4 Montage final1. Remettez le capot en place en alignant les deux pitons
3.1SICHERHEITSVORKEHRUNGENAus Platzgründen kann diese Warnung auf der Unterseite des Gerätesangebracht sein.Das Blitzsymbol im gleichseitigen Dreieck
3.2
3.3INHALT1 AUSPACKEN . . . . . . . . . . . . . . . . . . . . . . . . . .3.32 SERVICE . . . . . . . . . . . . . . . . . . . . . . . . . . . . . .3.33
3.4Abb. 1: Entfernen der Abdeckung3. Gilt für alle Modelle: Lösen Sie die Schraube bzw.Verriegelung, so daß sich die Vorderseite der Abdeckungvon der
5.3 Installation der Kamera/Linse1. Falls es erforderlich ist, die Kamera horizontal an der Wandzu installieren, müssen die Kameraschienen derInstalla
1.2IMPORTANT SAFEGUARDS1. Read Instructions - All the safety and operating instructions should be readbefore the unit is operated.2. Retain Instructio
3.6Abbildung 10: Kamera mit Wechselschiene an der Wandmontiert5.4 Endmontage1. Bringen Sie die Abdeckung an. Dabei richten Sie die beidenBolzen an der
4.1PRECAUCIONES DE SEGURIDADDebido a limitaciones de espacio, esta etiqueta puede aparecer en la parteinferior de la unidad.El símbolo representado po
4.3CONTENIDO1 DESEMBALAJE . . . . . . . . . . . . . . . . . . . . . . . . .4.32 SERVICIO . . . . . . . . . . . . . . . . . . . . . . . . . . . . .4.33
4.4Figura 1: Extracción de la tapa3. Para todos los modelos, desatornille el tornillo o la cerradurahasta que la tapa se libere del panel superior.4.
5.3 Instalación de cámara/lente1. Si la instalación necesita que la cámara esté montadahorizontalmente en la pared, extraiga el soporte de la cámarade
4.6Figura 10: Cámara montada en una pared con el soportealternativo5.4 Montaje final1. Monte la tapa alineando los dos pasadores cercanos a laparte po
5.1VEILIGHEIDSVOORZORGENDit label kan wegens ruimtegebrek op de onderkant van het apparaatzitten.De bliksemflits in een gelijkzijdige driehoek is bedo
5.3INHOUD1 UITPAKKEN . . . . . . . . . . . . . . . . . . . . . . . . . . .5.32 SERVICE . . . . . . . . . . . . . . . . . . . . . . . . . . . . . .5.33
1.3SAFETY PRECAUTIONSThis label may appear on the bottom of the unit due to spacelimitations.The lightning flash with an arrowhead symbol, within aneq
5.4Afbeelding 1: Behuizing openen3. Draai het schroefje los of open het slot tot de voorzijdeloskomt van het bovenpaneel van de behuizing.4. Leg de ee
5.3 Camera/lens monteren1. Als u de camera horizontaal aan een wand wilt monteren,maak de camera dan los van de montagebeugel en monteerde andere came
5.6Afbeelding 10: Camera met alternatieve beugel bevestigd aaneen wand5.4 Montage afronden1. Monteer de behuizing door de twee steunen bij deachterzij
6.1NORME CAUTELATIVE DI SICUREZZAA causa di limitazioni di spazio questa etichetta può essere collocata sulfondo dell’apparecchio.Il simbolo del fulmi
6.2
6.3CONTENUTI1 DISIMBALLAGGIO . . . . . . . . . . . . . . . . . . . . .6.32 ASSISTENZA . . . . . . . . . . . . . . . . . . . . . . . . . .6.33 CURA E
6.4Figura 1: Rimozione del coperchio3. Per tutti i modelli, svitare la vite od aprire la serratura persganciare il coperchio dal pannello frontale.4.
5.3 Installazione di telecamera/ottica1. Se l'installazione richiede che la telecamera venga montata inorizzontale sulla parete, rimuovere la sta
6.6Figura 10: Telecamera installata a parete con staffa alternativa5.4 Montaggio finale1. Montare il coperchio allineando i due perni inprossimità del
1.4
3935 890 21181 99-40 © 1999 by Philips Electronics N.V.© 1999 by Philips Communication & Security Systems Inc.All Rights Reserved. Philips® is a
1.5CONTENTS1 UNPACKING . . . . . . . . . . . . . . . . . . . . . . . . . .1.32 SERVICE . . . . . . . . . . . . . . . . . . . . . . . . . . . . . .1.3
3. For all models, unscrew the screw or the lock until the frontof the cover is free from the top panel.4. With the unit on a workbench or table, hold
Figure 6: Installing the Mount SystemFigure 7: Securing the Mount System with Alternate Bracket3. Secure the camera to the mount using the ¼-20 x ½ in
2. Inspect the alignment of the camera / lens in the unit. Thecamera / lens should be placed as close to the viewingwindow as possible. Remove the c
2.1SECURITEEn raison de limitation de place, cette étiquette peut être placée sur ledessous de l'appareil.L'éclair fléché dans un triangle é
Related products and manuals for Camera accessories Philips LTC 9405

 (8 pages)
© 2020, manymanuals.com. All rights reserved. | 0.438 s |
 Manymanuals.com
 Manymanuals.de
 Manymanuals.fr
 Manymanuals.it
 Manymanuals.pl
 Manymanuals.cz
 Manymanuals.es
 Manymanuals-pt.com
Comments to this Manuals